Ally H
When it came time to start my JavaScript Project for Flatiron School, I’ll admit I was pretty lost. JavaScript still felt very confusing and foreign to me, so how was I supposed to develop an entire project with a JavaScript frontend? Up to this point, combining a project with one of my interests had proven to be pretty successful. Given my lack of confidence in JavaScript, I needed to pick an interest where my confidence was overflowing. I know what you’re all thinking. “Is this it? Is this the project where Ally incorporates Harry Potter?” If you’ve read the title of this post, then you’ll already know the answer is a resounding yes! After careful consideration, I decided to test (and develop) my JavaScript (and Harry Potter) knowledge by creating a Harry Potter Trivia game.

Where to begin?
Knowing that I needed a Rails backend, I figured that was the place to start. I felt comfortable with the Rails requirements and understood how to implement what was needed. I’ve gotten in the habit of creating an outline to help me understand all of my models and relationships, and this project was no different.
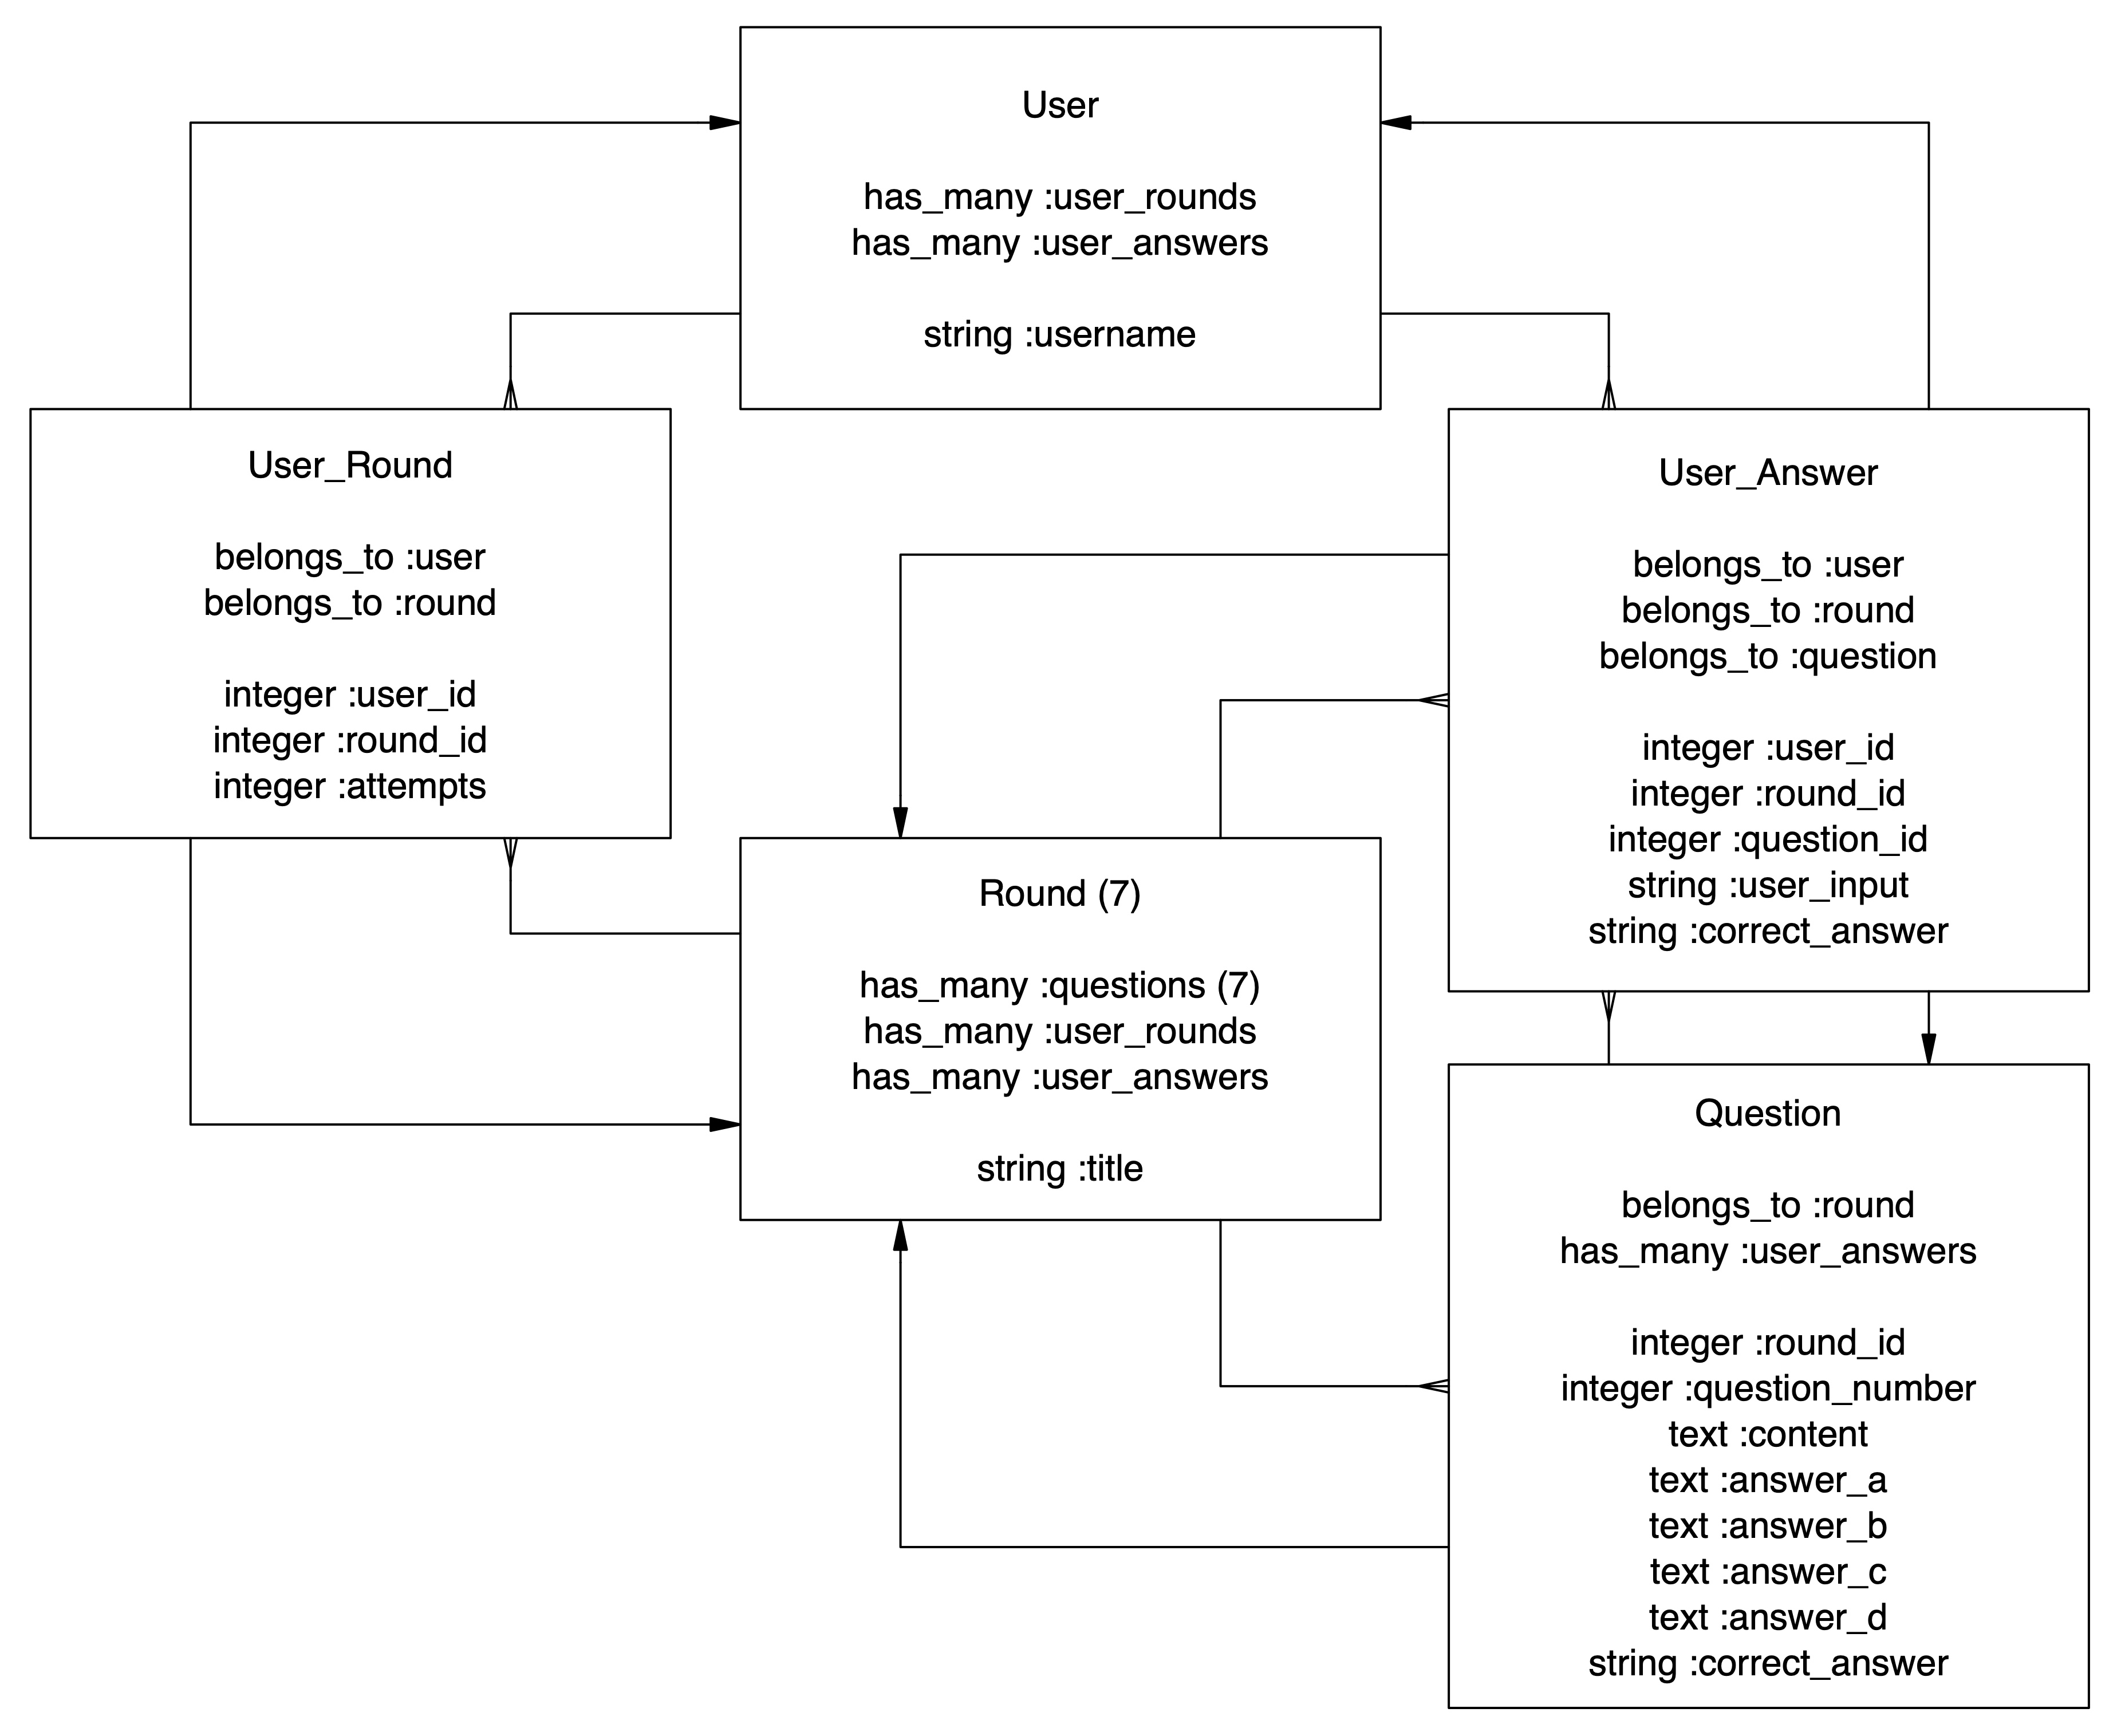
With all of that in place, I was able to create the necessary database tables and corresponding models. At this point you’re probably thinking, “But Ally, why are we talking about Rails? This is your JavaScript project.” And you’re right, we don’t need to get into the Rails details, we’ve already done that. So let’s move on.
But where to begin with JavaScript?
When it came to the JavaScript side of things, I truly had no idea where to start. Luckily, I was able to find an old video walkthrough of creating an app with a Rails API backend and a JavaScript frontend (hey, that’s what I was doing!). As it turned out, the best place to start was to figure out just that—where would my app start? Knowing that I wanted: 1. My code to be as clean and DRY as possible, and 2. Code concerning different elements to be separated into different files, I started with my index.js file. It was there where I wrote one whole line of code:
const app = new App()
This, in turn, points to my app.js file, which has a whopping five lines of code:
class App {
  constructor() {
    this.user = new User(username);
  }
}
And this is where the app really takes off. Creating that User directs to the user.js file where a new instance of User is created:
constructor(username) {
  this.username = username;
  this.adapter = new UsersAdapter();
  this.userEventListeners();
}
This User instance sets a lot of wheels in motion by connecting to the UsersAdapter and calling userEventListeners(), making it possible to take the user input and create an instance of User in the Rails database. We’re off to a great start! But what would happen next? Well, a user would type in a username and click submit. And we’re off…

Client-Server Communication — POST Request
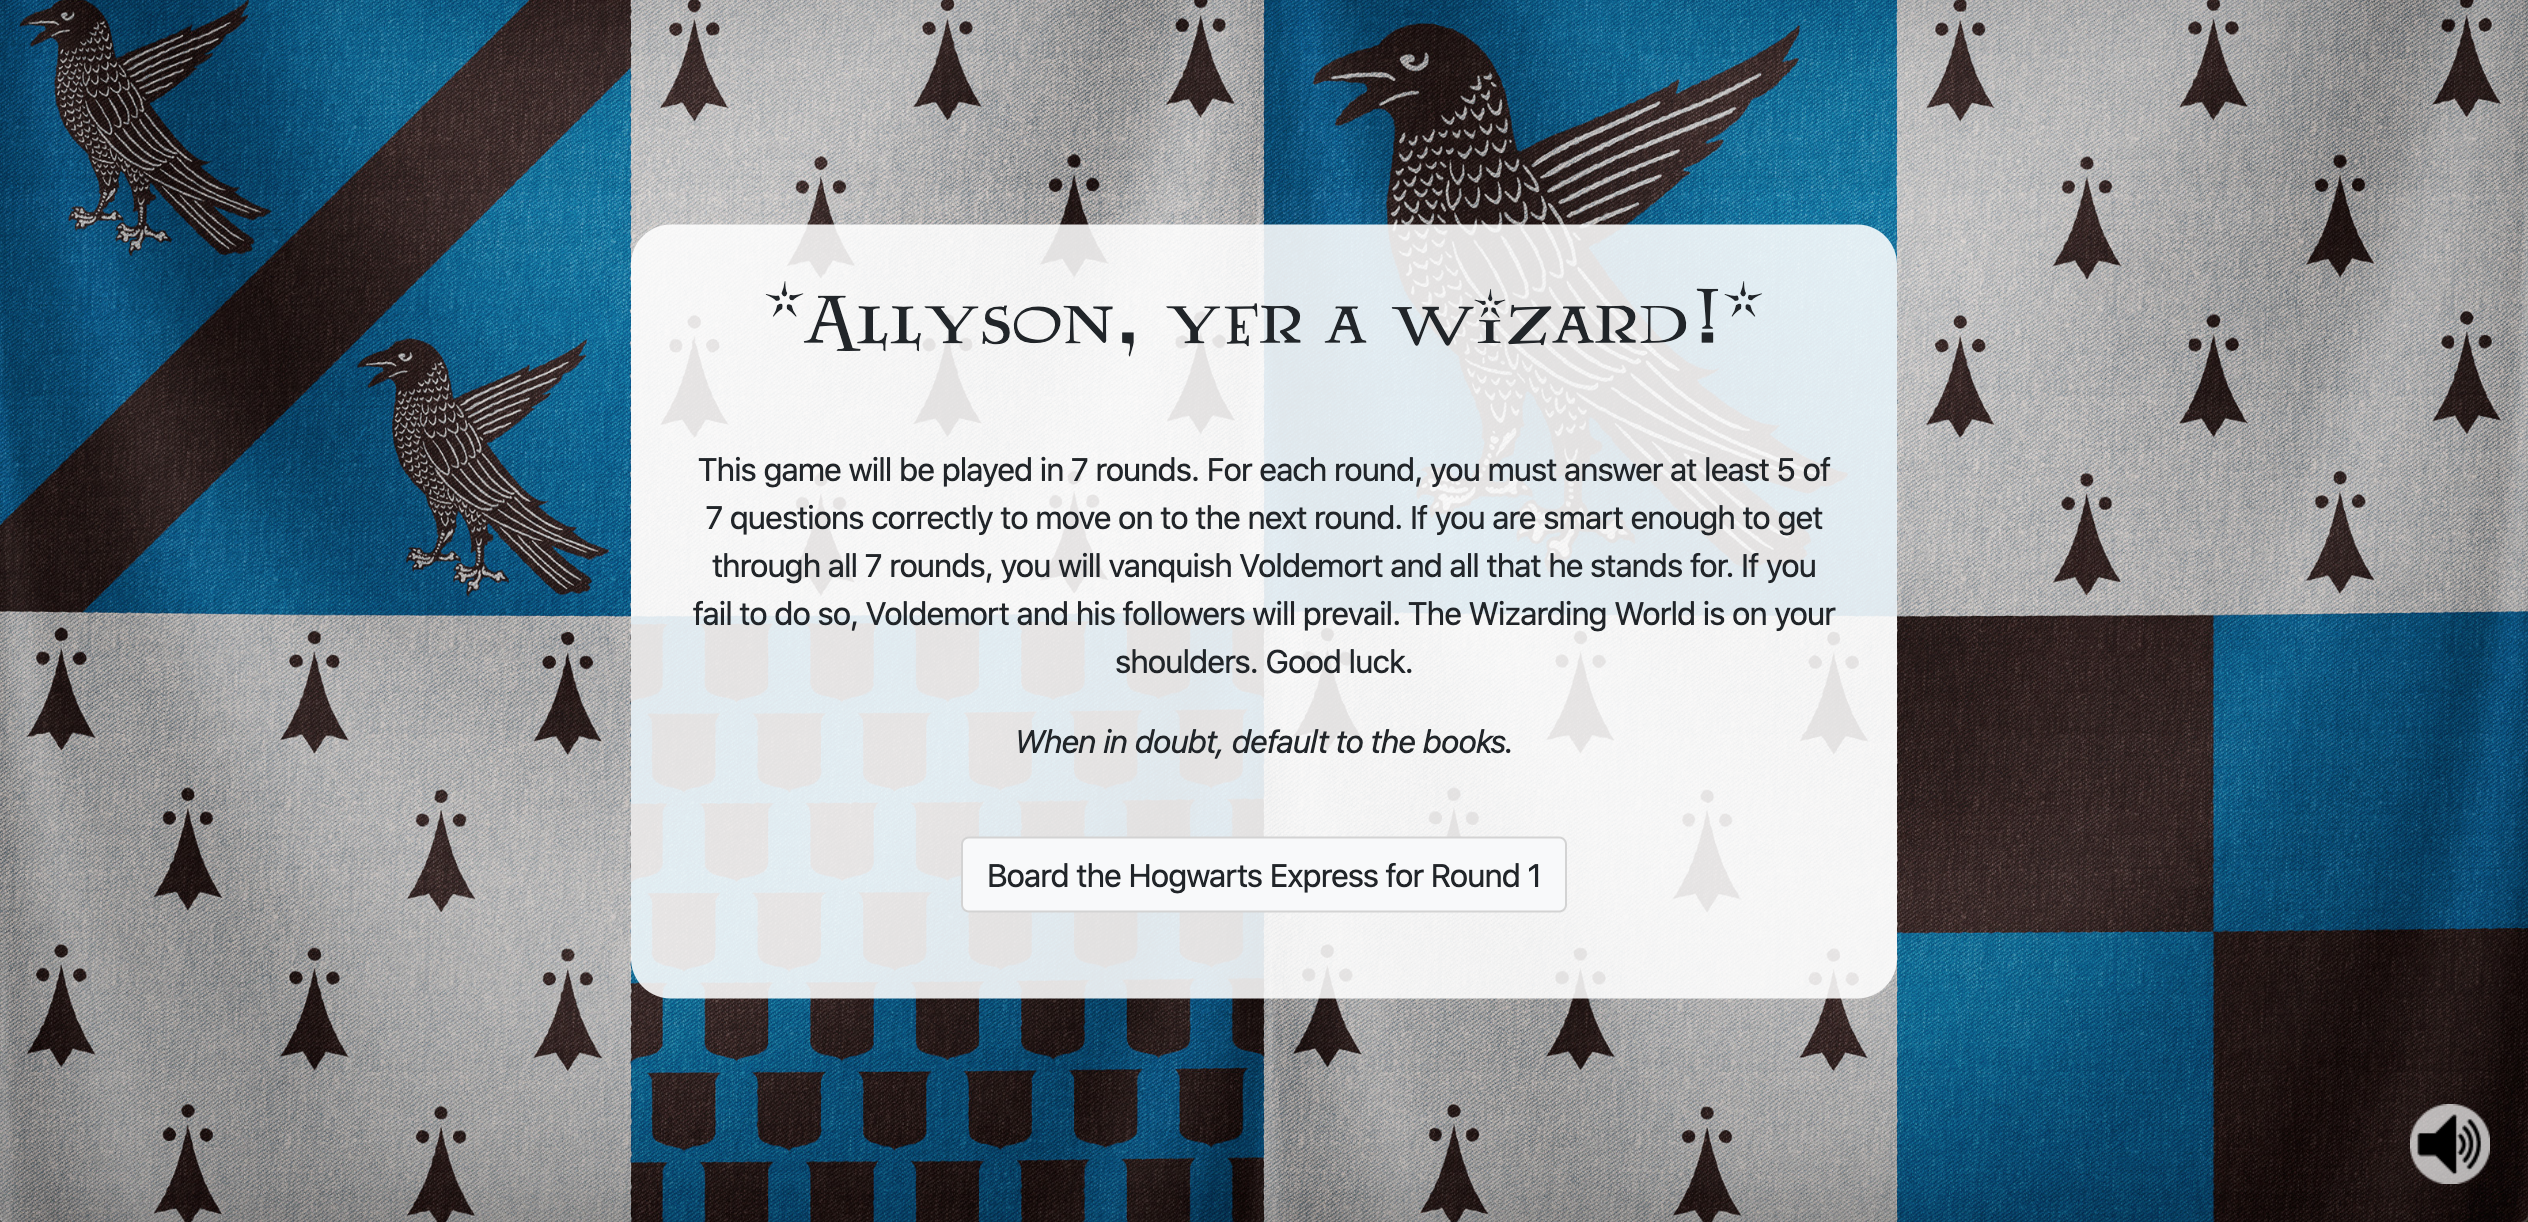
To start the game, a user has to enter a username and select their house. userEventListeners() adds an event listener to the submit button, so by clicking on this button createUser() is called on the User instance1:
createUser(event) {
  event.preventDefault();

  if (DOMElements.username.value === "") {
    alert("Please enter a username.");
  } else {
    DOMElements.audio.play();
    // take the below value and make a POST request using the adapter
    const value = DOMElements.username.value;

    this.adapter.createUser(value)
      .then(user => {
        this.renderUserStartPage(user);
      });
  };
}
As long as the user has entered a username, this.adapter.createUser() is called. The value that is passed in is the user input. Let’s take a look at what is happening in the adapter:
class UsersAdapter {

  constructor() {
    this.baseUrl = "http://localhost:3000/api/v1/users";
  }

  createUser(value) {
    const user = {
      username: value
    };

    return fetch(this.baseUrl, {
      method: "POST",
      headers: {
        "Content-Type": "application/json",
        "Accept": "application/json"
      },
      body: JSON.stringify({
        user
      })
    })
    // below sends a parsed JSON object back to the users component in createUser()
    .then(response => response.json())
  }
}
The Users Controller is rendering this information as JSON in a create method, which allows the adapter to complete the POST request:
def create
  @user = User.new(user_params)
  if @user.save
    render json: @user.to_json, status: 200
  end
end
The fetch request in the adapter returns a Promise. A Promise is essentially a wrapper for code that might take a second to resolve. I’m actually not going to get into that too much here since I wrote another post focusing on Promises, but just know that they allow you to run synchronous code in an asynchronous language (like JavaScript). A fancy way of saying, “Hang on a second, I just gotta finish this one thing and then we can keep going.”
Okay, back to createUser() in user.js. This is where the JSON object is used when rendering the User’s start page. Just in case you forgot or don’t feel like scrolling up:
createUser(event) {
  ...
    this.adapter.createUser(value)
      .then(user => {
      this.renderUserStartPage(user);
    });
  ...
}
We now have that user’s information (their username) and can display it back to them in renderUserStartPage().
Whew, that was a lot. And that’s just one example of a POST request. UserAnswers and UserRounds work in a similar fashion. That information is important to determine if a user has successfully completed a round, but I won’t bore you with the details since the POST requests aren’t much different. I’ll bore you with other details instead.
Once a user is created, they can start the first round. This brings us to the next type of request that is made.
Client-Server Communication — GET Request
The GET request isn’t as complicated as the POST request, since no new information is being created. The program is simply fetching information that already exists in the database. In HPT (Harry Potter Trivia, obvi), GET requests are used to fetch the rounds and questions for the game. When a user clicks on the button to start the game, a new JavaScript instance of a Round is created. Similarly to a User, this binds an adapter to the instance of Round, and calls roundBindingsAndEventListeners() on this new instance. roundBindingsAndEventListeners() includes instructions for what should happen when several different buttons are clicked (and even creates some new buttons). A great example, especially since we’re talking about GET requests, is calling fetchAndLoadRound() when the start button is clicked:
fetchAndLoadRound(event) {
  event.preventDefault();
  this.adapter.getRound()
    .then(round => {
      this.renderRound(round);
    });
}
fetchAndLoadRound() calls getRound() on the adapter:
getRound() {
  return fetch(this.baseUrl).then(response => response.json());
}
This is a fetch request to the Round’s URL, which is connected to the show action in the Rounds Controller:
def show
  @round = Round.find(params[:id])
  render json: RoundSerializer.new(@round).to_serialized_json, status: 200
end
Going back to getRound(), we pass a callback function to .then, which returns a response that we can then turn into JSON. This JSON object is used as an argument in renderRound(), which is called in fetchAndLoadRound().
The individual questions belong to a round, so in renderRound() we loop through all of the round’s questions and take the necessary steps to render the question information to the page. We’ll take a look at this in a bit. But first, there’s one last type of fetch request occurring in the game. In some instances, we aren’t looking to get information from the database or even post information, we’re looking to update information that already exists. Enter PATCH requests.
Client-Server Communication — PATCH Request
Part of the HPT challenge is that a user only has 3 chances to successfully complete a round before Voldemort takes control of the Wizarding World. Part of the challenge of this project was figuring out how to make that work. When it comes to the UserRounds, the first step is to create an instance in the database. When a user clicks the button to Board the Hogwarts Express for a round, an instance of UserRound is created with the current User’s ID, the Round ID, and the number of attempts (initially set equal to 1). If a user doesn’t answer at least 5 questions correctly, they have a chance to retry the round. Should this occur, we don’t want to create an entirely new instance of UserRound, we want to take the UserRound that was just created and increase the number of attempts by 1. Doing so allows the program to cut off the user after 3 attempts in any given round, as well as display the number of attempts per round on the stats page. The process of creating the UserRound is pretty similar to what we’ve seen already.
The start button is clicked, which triggers the Round class to begin said process:
createUserRound(event) {
  event.preventDefault();
  const userRound = new UserRound(this.user.id, this.id);
  userRound.createUserRound();
}
The above triggers createUserRound() in the UserRound class:
createUserRound() {
  this.adapter.createUserRound(this)
    .then(userRound => {
      DOMElements.tryAgain.dataset.userRoundId = userRound.id;
      DOMElements.tryAgain.dataset.userId = userRound.user_id;
      DOMElements.tryAgain.dataset.roundId = userRound.round_id;
      DOMElements.tryAgain.dataset.attempts = userRound.attempts;
    });
}
What’s happening here is we’re appending UserRound data to the “Try Again” button so we can have access to it, if needed. If there’s a chance we’ll need to update the UserRound, we have to be able to access that UserRound.
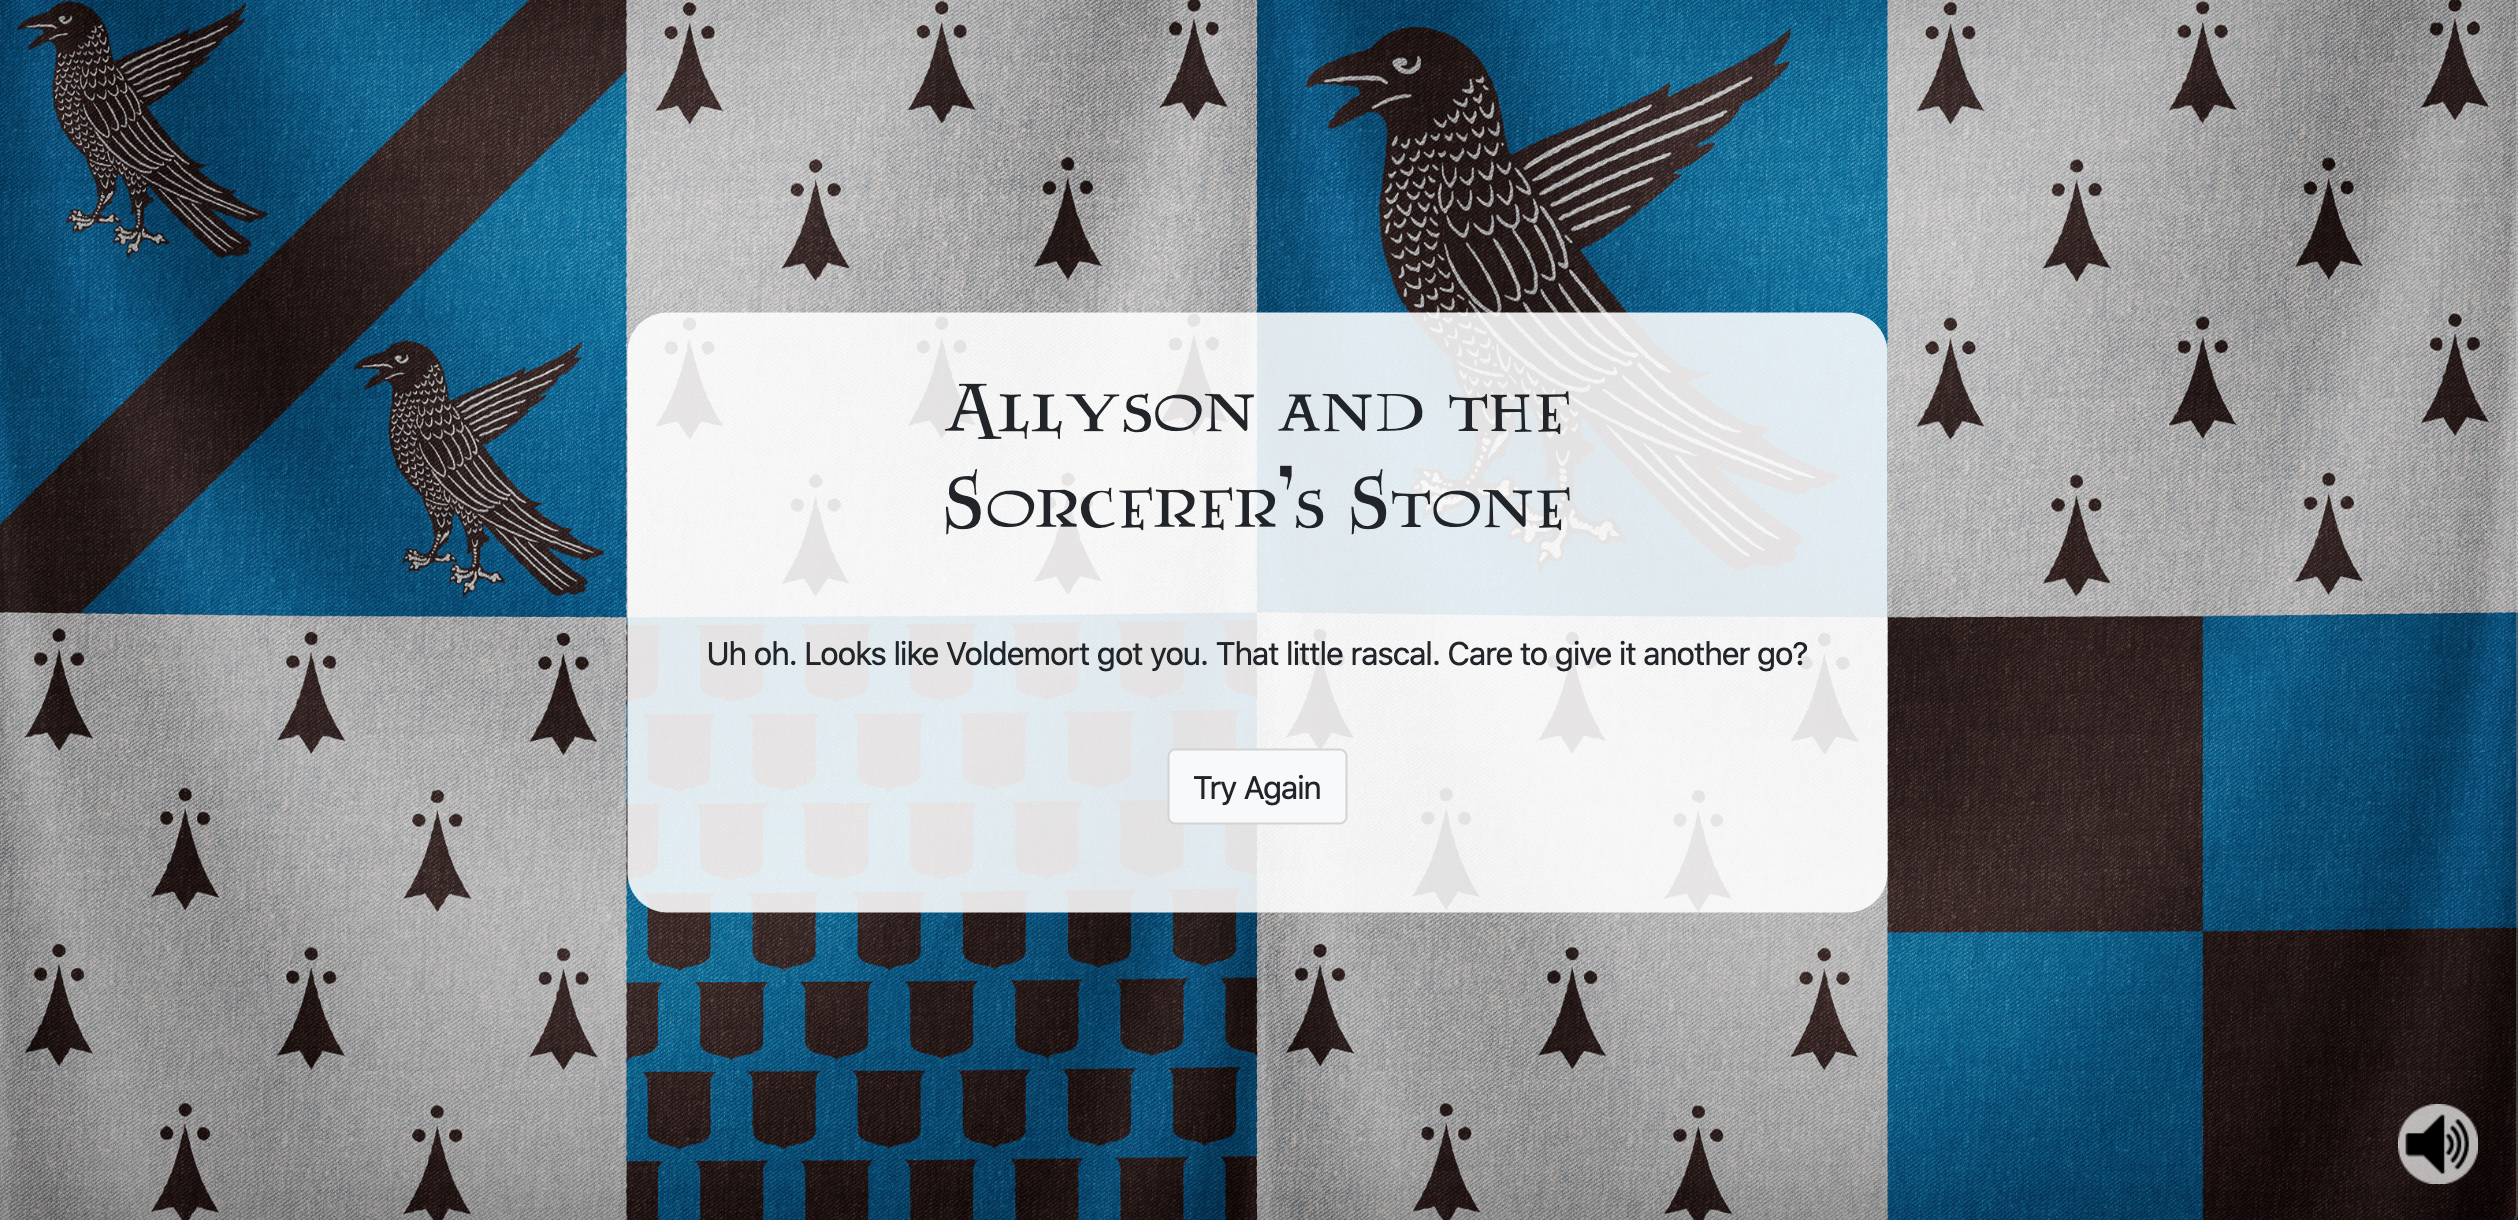
If a user answers at least 5 questions correctly, they click the start button for the next round and createUserRound() is triggered again, creating a new instance of UserRound with the new Round ID. However, if a user does not answer at least 5 questions correctly they’ll have the option to try the round again. Clicking the “Try Again” button (as shown above) triggers updateUserRound() in the Round class. This is where we create a new JavaScript instance of a UserRound, giving it all of the same elements as the last UserRound, but increasing the attempts by 1:
updateUserRound(event) {
  event.preventDefault();
  const userRound = new UserRound(parseInt(DOMElements.tryAgain.dataset.userId), parseInt(DOMElements.tryAgain.dataset.roundId), (parseInt(DOMElements.tryAgain.dataset.attempts) + 1));
  userRound.updateUserRound();
}
This triggers updateUserRound() in the UserRound class:
updateUserRound() {
  this.adapter.updateUserRound(this, parseInt(DOMElements.tryAgain.dataset.userRoundId))
    .then(userRound => {
      DOMElements.tryAgain.dataset.attempts = userRound.attempts;
    });
}
The above method makes a call to the adapter and passes in the new JavaScript instance of the UserRound (which remember, is the same as the previous instance of the UserRound, except the number of attempts has increased by 1), as well as the ID of the UserRound being updated, so a patch request can be made:
updateUserRound(userRound, id) {
  let attempts = userRound.attempts;

  return fetch(this.baseUrl + `/${id}`, {
    method: "PATCH",
    headers: {
      "Content-Type": "application/json",
      "Accept": "application/json"
    },
    body: JSON.stringify({
      attempts: userRound.attempts
    })
  })
  .then(response => response.json())
}
This patch request sends the information to the UserRound’s URL to update the instance of the UserRound via the UserRounds Controller:
def update
  @user_round = UserRound.find_by_id(params[:id])
  if @user_round.update(user_round_params)
    render json: @user_round.to_json, status: 200
  end
end
Wow, I’m wiped. And that doesn’t even cover all of the communication that is occurring between the client and the server. But it does provide a nice overview of the range of ways in which the two are communicating, and how they are working together to transfer information back and forth.
Great, so we can get information from the client to the server and vice versa. But how do we actually display this information to the user, you ask? By all means, keep reading.
The DOM
Manipulating the DOM and rendering content was a major part of this project since it was a Single Page Application. There were a couple of ways to make this easier, like making sure my HTML was organized and utilizing the ID property when I could. But if you can remember all the way back to the beginning of this post, when I started building the app I had separated my JavaScript classes into different files. As a result, I found that I was having to repeat the same code when trying to access DOM elements across files. Not very DRY at all. There had to be a better way! And as in most cases, it turns out there was. I created a DOMElements class that contained static getter methods for all of the DOM elements I would need to grab throughout the program. This way I only had to grab the element once, and I could call these methods in any of my other files with domElements.methodName(). Here are a couple examples of those static getter methods, just for you:
static get body() { return document.querySelector("body") };
static get header() { return document.getElementById("header") };
static get newUserForm() { return document.getElementById("new_user_form") };
Now that I had access to the DOM elements, I had to figure out how to manipulate them to display the information from the backend. The DOM can be really powerful, giving you the ability to add/change innerHTML, add elements, append elements, etc. After understanding that, it was just a matter of finding the DOM element I needed and setting the innerHTML equal to the appropriate attribute of the JSON object I had access to. Sure, in some instances I would need to create new elements or update the IDs of current elements, but a lot of figuring that out was just trial and error.
Remember how I said that for each round it was necessary to render the round’s questions on the page? Well, in the end, renderQuestion() looked like this:
renderQuestion(question) {
  // displays the quiz_container element, which is currently hidden
  DOMElements.quiz_container.style.display = “table";
  // creates a “p” element for the question
  const q = document.createElement("p");

  // sets the innerHTML of q equal to attributes of the question object
  q.innerHTML = `${question.question_number}. ${question.content}`;
  // attaches q to the quiz_form
  DOMElements.quiz_form.appendChild(q);

  // loops through the 4 answer choices for the question
  for (let i = 1; i < 5; i++) {
    // creates DOM elements that are needed to display each answer choice
    const div = document.createElement("div");
    const answer = document.createElement("input");
    const answer_text = document.createElement("label");

    // sets the necessary attributes of the answer so it behaves properly (i.e. can only select one answer per question)
    answer.setAttribute("type", "radio");
    answer.setAttribute("name", question.id);
    answer.setAttribute("class", "form-check-input");
    answer.setAttribute("id", "user_input");
    answer_text.className = "form-check-label";

    switch (i) {
      case 1:
        answer.setAttribute("value", "A");
        answer_text.innerText = ` ${question.answer_a}`;
        break;
      case 2:
        answer.setAttribute("value", "B");
        answer_text.innerText = ` ${question.answer_b}`;
        break;
      case 3:
        answer.setAttribute("value", "C");
        answer_text.innerText = ` ${question.answer_c}`;
        break;
      case 4:
        answer.setAttribute("value", "D");
        answer_text.innerText = ` ${question.answer_d} \n\n\n`;
    };

    // attaches the div to the quiz_form and the answer information to the div
    DOMElements.quiz_form.appendChild(div);
    div.appendChild(answer);
    div.appendChild(answer_text);
  };
}
All of that to display one question:

Is that everything?
Of course not! This project was a huge learning experience, delving into the JavaScript world for the first time. I’ve hardly even scratched the surface, which is both crazy and exciting. I feel like I could improve this project in a myriad of ways, and could probably spend a few solid weeks (or months) doing so. That being said, I think it all seems to be working okay as is, and at this point my time is probably better spent moving on and continuing my journey. So when it comes to Harry Potter Trivia, for now I’ll say Mischief Managed.

1Code has since been updated to use async/await instead of then() in all instances